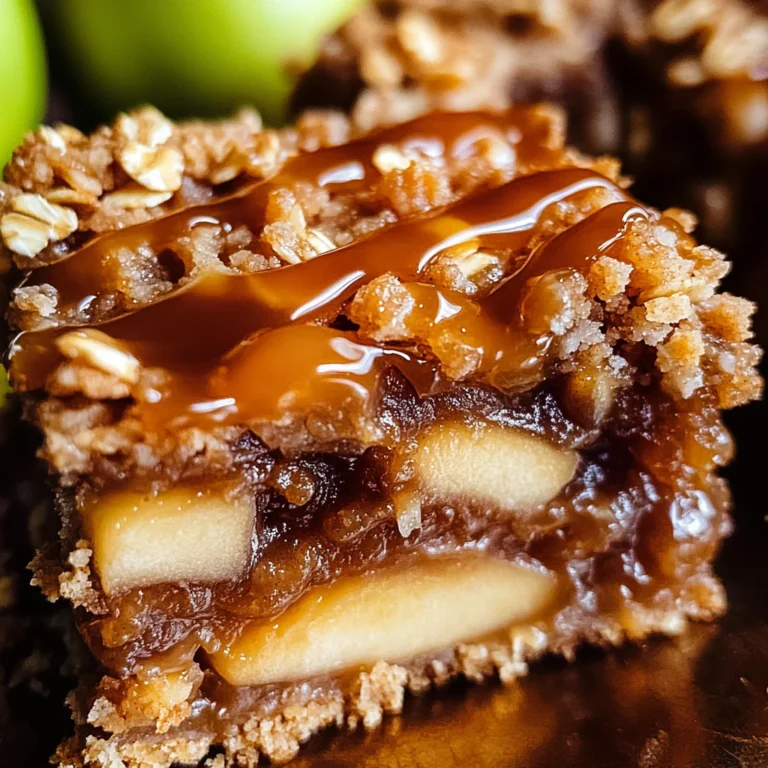
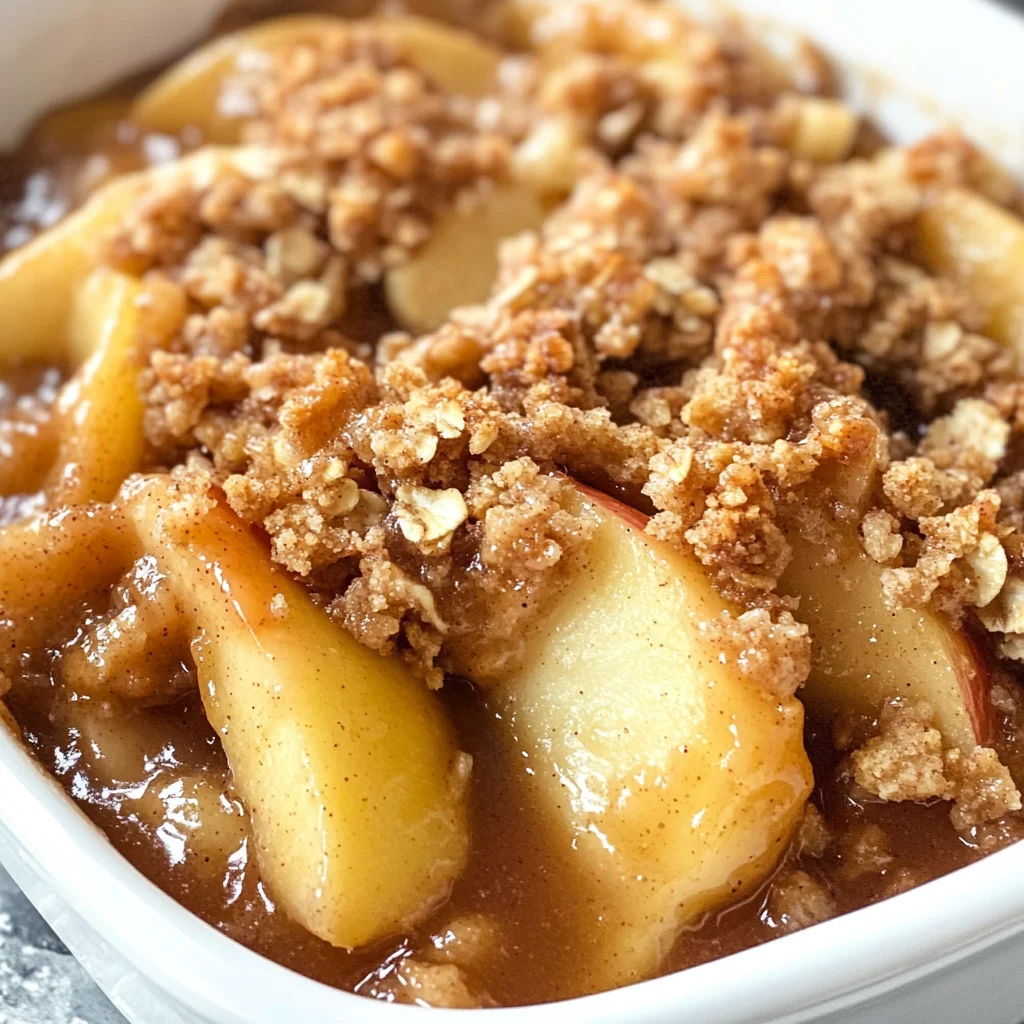
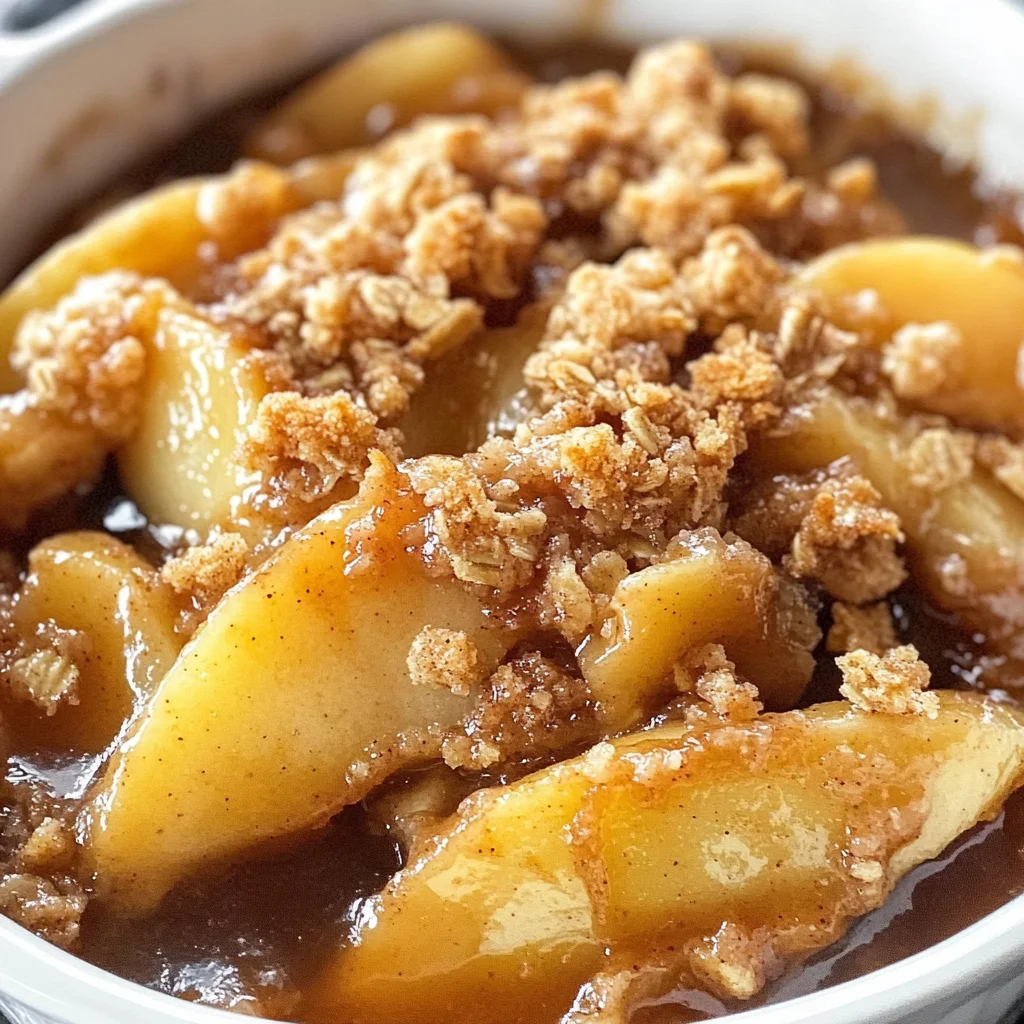
The Best Apple Crisp
If you’re looking for a cozy dessert to warm your heart this fall, you’ve come to the right place! The Best Apple Crisp is a delightful treat that brings together the sweetness of fresh apples and the comforting crunch of a buttery cinnamon oat topping. It’s perfect for busy weeknights or family gatherings, and trust me, it will be the star of your dessert table. Whether you’re celebrating Thanksgiving or simply enjoying a quiet evening at home, this apple crisp will make every occasion feel special.
What makes this recipe truly stand out is how easy it is to whip up! You can have it ready in just about an hour, and it’s sure to impress everyone around the table. Plus, who can resist the aroma of baked apples mingling with warm spices? Grab your apron, and let’s dive into making The Best Apple Crisp together!
Why You’ll Love This Recipe
- Quick to prepare: With just 10 minutes of prep time, you can get this delicious dessert in the oven before you know it!
- Family-friendly: Kids and adults alike will love digging into this sweet and crunchy delight.
- Make-ahead option: Prepare it in advance and pop it in the oven when you’re ready for dessert!
- Versatile serving options: Enjoy it warm on its own or pair it with a scoop of vanilla ice cream for that perfect touch.
- Seasonal flavors: Celebrate fall with the classic taste of apples and cinnamon that everyone adores.
Ingredients You’ll Need
Let’s gather our simple, wholesome ingredients for The Best Apple Crisp! You probably have most of these items in your pantry already. Using fresh apples ensures that every bite bursts with flavor!
For the Filling:
- 5 cups fresh apples (sliced)
- 1/2 cup granulated white sugar
- 1/2 tsp cinnamon
- 1 teaspoon vanilla extract
For the Topping:
- 1/2 cup all-purpose flour
- 1/3 cup old-fashioned oats
- 2/3 cup packed brown sugar
- 1/4 tsp salt
- 1/2 teaspoon cinnamon
- 1/4 cup (1/2 stick) butter (melted)
Variations
One of the best things about The Best Apple Crisp is how flexible it is! Feel free to mix things up based on what you have on hand or your personal preferences.
- Add nuts: Toss in some chopped walnuts or pecans for an extra crunch and nutty flavor.
- Mix different fruits: Combine apples with pears or berries for a delightful fruit medley.
- Use gluten-free flour: Swap regular flour with a gluten-free variety if you need to accommodate dietary preferences.
- Experiment with spices: Try adding nutmeg or pumpkin spice to give your crisp a unique twist!
How to Make The Best Apple Crisp
Step 1: Preheat Your Oven
Start by preheating your oven to 350 degrees Fahrenheit. This step is crucial as it ensures even baking for both the filling and topping.
Step 2: Prepare the Apple Filling
In a large bowl, combine those lovely sliced apples with sugar, cinnamon, and vanilla extract. Mixing them well coats each apple slice evenly, allowing them to absorb all those sweet flavors. Once mixed, pour everything into your greased deep dish pie plate or large baking dish.
Step 3: Create the Topping
In a separate medium bowl, combine flour, oats, brown sugar, salt, and cinnamon. This mixture brings together a delightful texture that contrasts beautifully with soft baked apples. When you pour in the melted butter, stir until everything is coated and crumbly. It should resemble sandy clumps—this will create that perfect crispy topping we’re after!
Step 4: Bake It Up
Sprinkle your crumb mixture generously over the apple filling. Now it’s time for some magic! Bake in your preheated oven for 45-60 minutes until the fruit is tender and the topping is golden brown. Let it cool slightly before serving; it’ll be hard to resist diving right in! Serve warm with vanilla ice cream on top—pure bliss!
Enjoy making The Best Apple Crisp! I can’t wait for you to taste how delicious this dessert is!
Pro Tips for Making The Best Apple Crisp
Making the perfect apple crisp is all about those little details that bring out the best flavors and textures. Here are some handy tips to ensure your dessert turns out delightful every time!
-
Choose the right apples: Opt for a mix of tart and sweet apples like Granny Smith and Honeycrisp for a balanced flavor. Tart apples add a refreshing zing, while sweet varieties provide a lovely contrast.
-
Don’t skimp on the cinnamon: A generous sprinkle of cinnamon not only enhances the flavor but also creates that warm, cozy aroma we all love during fall. It’s the spice that makes your kitchen smell divine!
-
Let it cool slightly before serving: Allowing your apple crisp to rest for about 10 minutes after baking helps the juices settle and makes it easier to serve. Plus, it won’t be scalding hot when you scoop it up!
-
Experiment with toppings: For a unique twist, try adding nuts or even shredded coconut to the oat topping. This adds an extra layer of crunch and flavor that takes your apple crisp to the next level.
-
Use different baking dishes: Don’t feel restricted to a pie plate! A cast-iron skillet or individual ramekins can create a beautiful presentation and allow for even baking.
How to Serve The Best Apple Crisp
Serving your apple crisp can be as fun as making it! Here are some delightful ideas to present this delicious dessert at your next gathering.
Garnishes
- Whipped cream: A dollop of homemade whipped cream on top adds a creamy texture that complements the warm apples beautifully.
- Caramel drizzle: Drizzling some caramel sauce adds an indulgent touch that elevates each bite into something truly special.
- Chopped nuts: Sprinkle some chopped walnuts or pecans on top for added crunch and a nutty flavor that pairs perfectly with the sweetness of the apples.
Side Dishes
- Vanilla ice cream: The classic pairing! The cold creaminess of vanilla ice cream contrasts wonderfully with the warm, spiced apple filling.
- Coffee or chai tea: A warm beverage can enhance the cozy experience, making it feel like a comforting fall evening.
- Cheese platter: A selection of mild cheeses like brie or gouda offers a savory contrast to the sweetness of the apple crisp, creating a sophisticated balance.
- Fresh fruit salad: A light and refreshing fruit salad can cleanse the palate between bites, making it an ideal complement to this rich dessert.
With these tips and serving ideas, you’re all set to enjoy The Best Apple Crisp in style! Happy baking!
Make Ahead and Storage
This Apple Crisp is perfect for meal prep and makes a fantastic dessert to have ready for family gatherings or cozy nights in. Here’s how to store, freeze, and reheat this delicious dish so you can enjoy it anytime!
Storing Leftovers
- Allow the Apple Crisp to cool completely before storing.
- Transfer any leftovers to an airtight container.
- Store in the refrigerator for up to 3 days.
Freezing
- To freeze, let the crisp cool completely, then cover tightly with plastic wrap or aluminum foil.
- Place in a freezer-safe container or bag.
- Freeze for up to 3 months. For best results, consider freezing before baking.
Reheating
- If thawed, preheat your oven to 350 degrees F.
- Place the Apple Crisp in an oven-safe dish and cover with foil to prevent over-browning.
- Bake for about 20 minutes or until warmed through. If from frozen, extend the time to about 30-40 minutes.
FAQs
Here are some common questions you might have about making The Best Apple Crisp:
Can I make The Best Apple Crisp with different types of apples?
Absolutely! You can use a mix of sweet and tart apples like Granny Smith and Honeycrisp for a more complex flavor profile.
How do I know when The Best Apple Crisp is done baking?
The best way to check is by looking for tender apples and a golden brown topping. It should smell heavenly too!
Can I use gluten-free flour in The Best Apple Crisp?
Yes! You can substitute all-purpose flour with your favorite gluten-free flour blend without sacrificing taste.
How long does The Best Apple Crisp last in the refrigerator?
Stored properly in an airtight container, it will last up to three days in the refrigerator.
Is The Best Apple Crisp suitable for special dietary needs?
Yes! This recipe avoids pork, alcohol, and animal-derived gelatin, making it suitable for various dietary preferences.
Final Thoughts
This Apple Crisp truly embodies the warmth of fall with its delightful combination of flavors and textures. It’s versatile enough for any occasion—whether it’s a simple weeknight dessert or a treat at your Thanksgiving table. I hope you enjoy making this recipe as much as I do! Don’t hesitate to share your thoughts or variations; I’d love to hear how it turns out for you!
The Best Apple Crisp

Indulge in the comforting warmth of The Best Apple Crisp, a delightful dessert that showcases the natural sweetness of fresh apples topped with a buttery cinnamon oat crust. Perfect for fall gatherings or cozy nights at home, this easy-to-make treat will surely be the highlight of your dessert table. With its irresistible aroma filling your kitchen, it invites everyone to gather around and enjoy a slice of nostalgia. Whether served warm on its own or paired with vanilla ice cream, this apple crisp is a true crowd-pleaser that embodies the essence of autumn.
- Prep Time: 10 minutes
- Cook Time: 45 minutes
- Total Time: 55 minutes
- Yield: Serves approximately six people 1x
- Category: Dessert
- Method: Baking
- Cuisine: American
Ingredients
- 5 cups fresh apples (sliced)
- 1/2 cup granulated white sugar
- 1 teaspoon vanilla extract
- 1/2 cup all-purpose flour
- 1/3 cup old-fashioned oats
- 2/3 cup packed brown sugar
- 1/4 cup (1/2 stick) melted butter
- 1/2 teaspoon cinnamon
- 1/4 teaspoon salt
Instructions
- Preheat your oven to 350°F (175°C).
- In a large bowl, mix sliced apples with granulated sugar, cinnamon, and vanilla extract. Pour into a greased deep dish or baking dish.
- In another bowl, combine flour, oats, brown sugar, salt, and cinnamon. Stir in melted butter until the mixture is crumbly.
- Sprinkle the topping evenly over the apple filling and bake for 45-60 minutes until the apples are tender and topping is golden brown.
- Let cool slightly before serving warm.
Nutrition
- Serving Size: 1 cup (240g)
- Calories: 320
- Sugar: 28g
- Sodium: 150mg
- Fat: 14g
- Saturated Fat: 8g
- Unsaturated Fat: 6g
- Trans Fat: 0g
- Carbohydrates: 48g
- Fiber: 4g
- Protein: 2g
- Cholesterol: 30mg