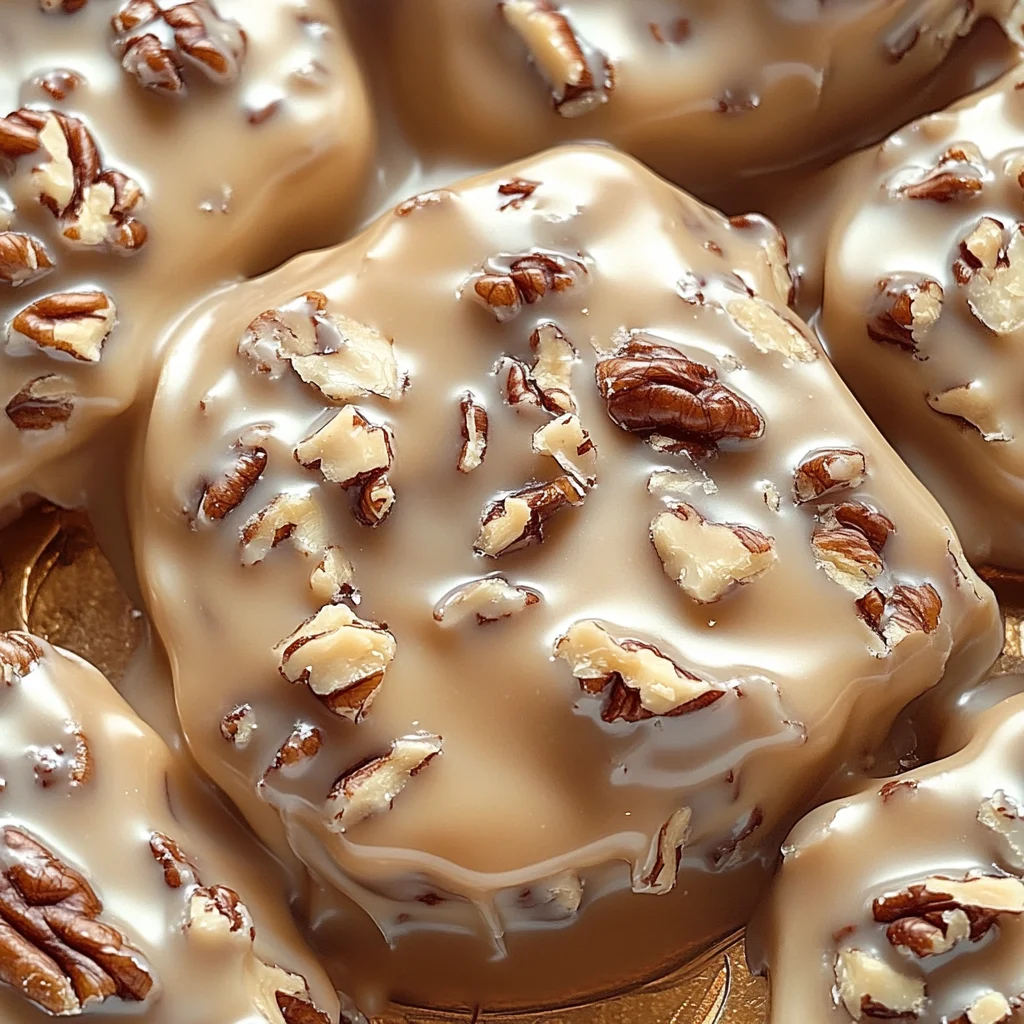
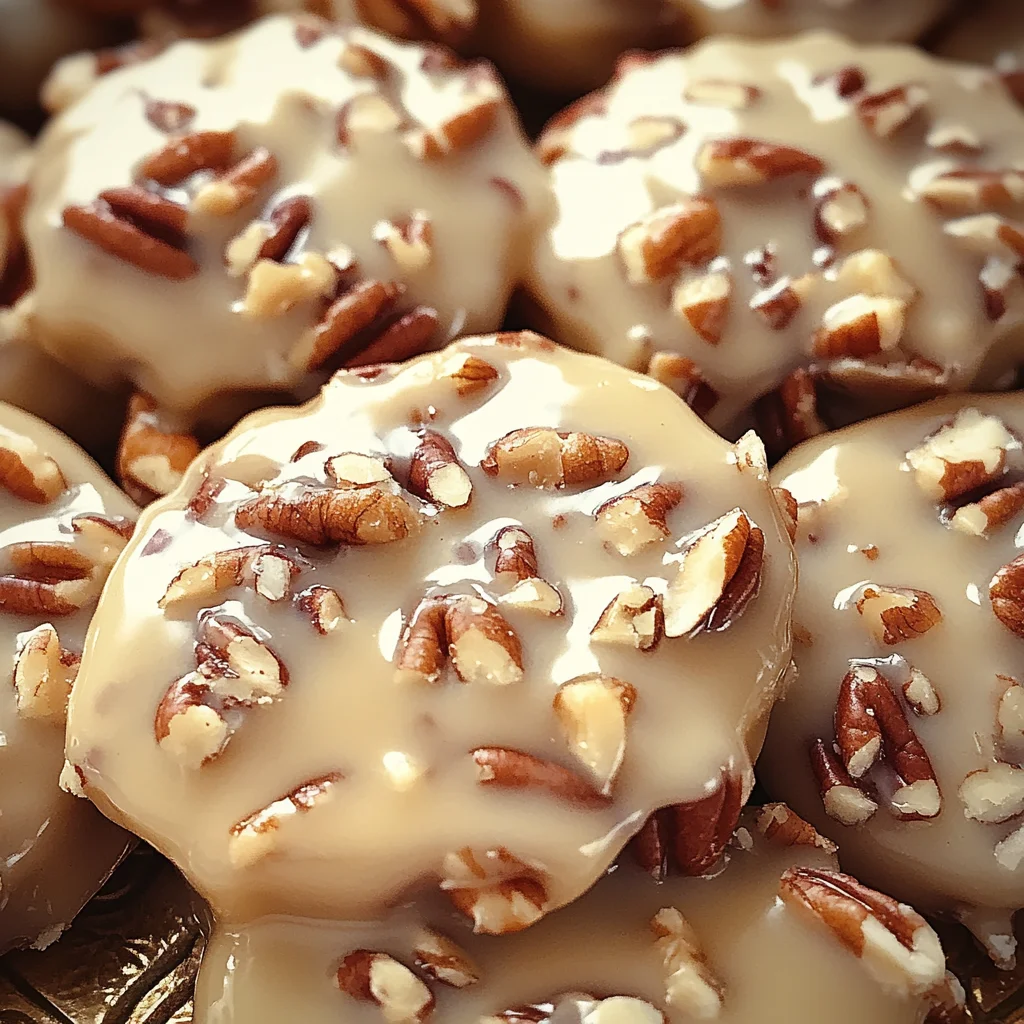
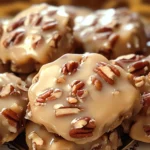
Vanilla Pecan Pralines
If you’re looking for a sweet treat that brings a smile to everyone’s face, then you’ve come to the right place! These Vanilla Pecan Pralines are not just delicious; they hold a special spot in my heart. Each bite is rich, creamy, and bursting with delightful vanilla and pecan flavors. They’re perfect for any occasion, whether it’s a cozy family gathering or a fun weekend treat. Plus, they’re easy enough to whip up on busy weeknights when you need a little indulgence.
What I love most about these pralines is how they can transform an ordinary day into something extraordinary. The aroma of melting chocolate and toasting pecans fills your kitchen with warmth and nostalgia, making them a joy to share with friends and family.
Why You’ll Love This Recipe
- Quick and Easy: With just a few simple steps, you can have these tasty treats ready in no time!
- Family-Friendly: Everyone loves the combination of vanilla and pecans—kids will be begging for seconds!
- Make-Ahead Delight: These pralines store well, so you can make them ahead of time and enjoy them later.
- Perfect for Any Occasion: Whether it’s a holiday or just because, these pralines will always be a hit.
Ingredients You’ll Need
Let’s gather our ingredients! This recipe uses simple, wholesome items that you likely already have in your pantry. You’ll find everything you need to create these irresistible Vanilla Pecan Pralines.
For the Pralines
- 2.5 cups granulated sugar
- 2 cups chopped pecans
- 7 oz evaporated milk
- 0.25 cup butter (cubed)
- 11 oz vanilla chocolate chips (Ghirardelli recommended)
- 4 oz vegan marshmallows creme
- 1 teaspoon vanilla extract
Variations
One of the best things about this recipe is its flexibility! Feel free to get creative with these Vanilla Pecan Pralines by trying out some fun variations.
- Add Some Spice: A pinch of cinnamon or nutmeg can elevate the flavor profile beautifully.
- Nutty Swaps: If you’re not a fan of pecans, try using walnuts or almonds for a different twist.
- Choco-Lover’s Upgrade: Mix in some dark chocolate chips along with the vanilla chocolate chips for a richer taste.
- Dried Fruits: Toss in some dried cranberries or cherries for an added chewy texture!
How to Make Vanilla Pecan Pralines
Step 1: Combine Ingredients
Start by combining the granulated sugar, evaporated milk, and cubed butter in a heavy-bottomed saucepan. It’s important to use a heavy pan because it helps distribute heat evenly, preventing any burning while we cook.
Step 2: Cook Until Boiling
Place the saucepan over medium heat and stir constantly until the sugar dissolves completely. Once it reaches a boil, stop stirring! This allows the mixture to reach that perfect firm-ball stage without getting grainy.
Step 3: Reach Firm-Ball Stage
Let the mixture boil without stirring until it reaches 245°F (118°C) on your candy thermometer. This step is crucial—if you don’t reach this temperature, your pralines might not set properly.
Step 4: Add Chocolate Chips
Once at temperature, remove from heat and stir in the vanilla chocolate chips. Keep stirring until they melt completely into the mixture. This creates that creamy texture we all love!
Step 5: Incorporate Marshmallow Creme
Now it’s time to add in the vegan marshmallows creme and vanilla extract. Stir until everything is well combined. The marshmallow creme adds an extra layer of creaminess that makes these pralines irresistible.
Step 6: Mix in Pecans
Next, fold in the chopped pecans. Make sure they are evenly coated with the mixture; this ensures every bite has that delightful nutty crunch!
Step 7: Forming Pralines
Using rounded tablespoons, drop spoonfuls onto a parchment-lined baking sheet. Keep them spaced apart so they don’t stick together as they cool.
Step 8: Let Cool Completely
Finally, let your pralines cool completely before serving. This waiting period allows them to set properly so you can enjoy their rich flavor fully!
Pro Tips for Making Vanilla Pecan Pralines
Making Vanilla Pecan Pralines is a delightful experience, and with these tips, you’ll achieve perfect results every time!
-
Use a heavy-bottomed saucepan: This prevents the sugar from scorching and ensures even cooking, which is crucial for achieving that perfect praline texture.
-
Stir constantly at the beginning: Keeping the mixture moving while it heats helps dissolve the sugar completely, preventing any grainy texture in your final pralines.
-
Monitor the temperature closely: Using a candy thermometer is essential. Reaching the firm-ball stage (245°F or 118°C) guarantees that your pralines will set up nicely and have that desired chewy consistency.
-
Let them cool completely on parchment paper: This step allows the pralines to harden properly without sticking to surfaces, making it easy to peel them off once they’re ready.
-
Experiment with mix-ins: Feel free to add dried fruits or different nuts for a unique twist on your pralines. This helps personalize your treat and can introduce exciting flavor combinations!
How to Serve Vanilla Pecan Pralines
Presenting your Vanilla Pecan Pralines beautifully can enhance their appeal, whether for a special occasion or just because! Here are some ideas on how to showcase these sweet treats.
Garnishes
- Chopped fresh mint: A sprinkle of chopped mint adds a pop of color and a refreshing contrast to the sweetness of the pralines.
- Drizzle of dairy-free chocolate sauce: A light drizzle over each praline creates an elegant finish and enhances the chocolate flavor.
Side Dishes
- Vanilla ice cream: The creamy texture and vanilla flavor of dairy-free ice cream complement the richness of the pralines perfectly.
- Fresh fruit salad: A mix of seasonal fruits provides a light, refreshing element that balances the sweetness of the pralines.
- Coffee or tea: Serving these pralines alongside a cup of your favorite brew makes for a delightful afternoon treat, enhancing both flavors.
- Coconut whipped cream: A dollop of this light and airy topping adds an extra layer of creaminess without overpowering the main flavors.
These ideas will not only elevate your Vanilla Pecan Pralines but also create an inviting atmosphere for sharing them with family and friends! Enjoy every sweet moment!
Make Ahead and Storage
These Vanilla Pecan Pralines are perfect for meal prep! You can whip up a batch in advance and enjoy their delightful flavors for days. Here’s how to store them properly:
Storing Leftovers
- Store the pralines in an airtight container at room temperature.
- They can last for up to one week, but trust us—they may not last that long!
Freezing
- If you want to keep them longer, you can freeze the pralines.
- Place them in a single layer on a baking sheet to freeze until solid, then transfer to a freezer-safe container or bag.
- They will remain good for up to three months in the freezer.
Reheating
- There’s no need to reheat these treats; they are best enjoyed at room temperature.
- If desired, you can microwave individual pieces for about 10-15 seconds to soften slightly.
FAQs
Here are some common questions about making Vanilla Pecan Pralines:
Can I use different nuts for Vanilla Pecan Pralines?
Absolutely! While pecans give these pralines their signature flavor, feel free to substitute with walnuts or almonds if you prefer.
How do I know if my Vanilla Pecan Pralines are ready?
The key is reaching the firm-ball stage at 245°F (118°C). This ensures your pralines have that perfect texture!
Can I make Vanilla Pecan Pralines without vegan marshmallow creme?
Yes, you can replace it with a similar amount of dairy-free cream cheese or simply omit it for a richer chocolate flavor.
What makes these Vanilla Pecan Pralines different from traditional ones?
These pralines are made without animal-derived gelatin and use vegan marshmallow creme, making them suitable for various dietary preferences!
Final Thoughts
I hope you find joy in making these delightful Vanilla Pecan Pralines! Their rich flavor and chewy texture make them an irresistible treat. Whether you’re sharing with friends or enjoying them solo, I’m sure they’ll bring a smile to your face. Happy cooking, and don’t forget to share your creations!
Vanilla Pecan Pralines
Indulge in the delightful sweetness of Vanilla Pecan Pralines, a treat that’s sure to brighten anyone’s day! These creamy bites are rich with the flavors of vanilla and pecans, making them the perfect dessert for any occasion—from cozy family gatherings to festive celebrations. Simple to make yet incredibly satisfying, they offer a nostalgic aroma that fills your kitchen with warmth. Whether shared with friends or enjoyed solo, these pralines are a sweet escape that everyone will love.
- Prep Time: 15 minutes
- Cook Time: 10 minutes
- Total Time: 25 minutes
- Yield: Approximately 24 pralines 1x
- Category: Dessert
- Method: Cooking
- Cuisine: American
Ingredients
- 2.5 cups granulated sugar
- 2 cups chopped pecans
- 7 oz evaporated milk
- 0.25 cup butter (cubed)
- 11 oz vanilla chocolate chips
- 4 oz vegan marshmallow crème
- 1 teaspoon vanilla extract
Instructions
- In a heavy-bottomed saucepan, combine granulated sugar, evaporated milk, and cubed butter. Stir constantly over medium heat until sugar dissolves.
- Stop stirring when it reaches a boil and allow it to cook until it reaches 245°F (118°C) on a candy thermometer.
- Remove from heat and stir in vanilla chocolate chips until melted.
- Incorporate vegan marshmallow crème and vanilla extract; mix well.
- Fold in chopped pecans until evenly coated.
- Drop spoonfuls onto a parchment-lined baking sheet, spacing them out to prevent sticking.
- Allow to cool completely before serving.
Nutrition
- Serving Size: 1 serving
- Calories: 90
- Sugar: 12g
- Sodium: 10mg
- Fat: 3g
- Saturated Fat: 1g
- Unsaturated Fat: 2g
- Trans Fat: 0g
- Carbohydrates: 15g
- Fiber: 0g
- Protein: 1g
- Cholesterol: 3mg