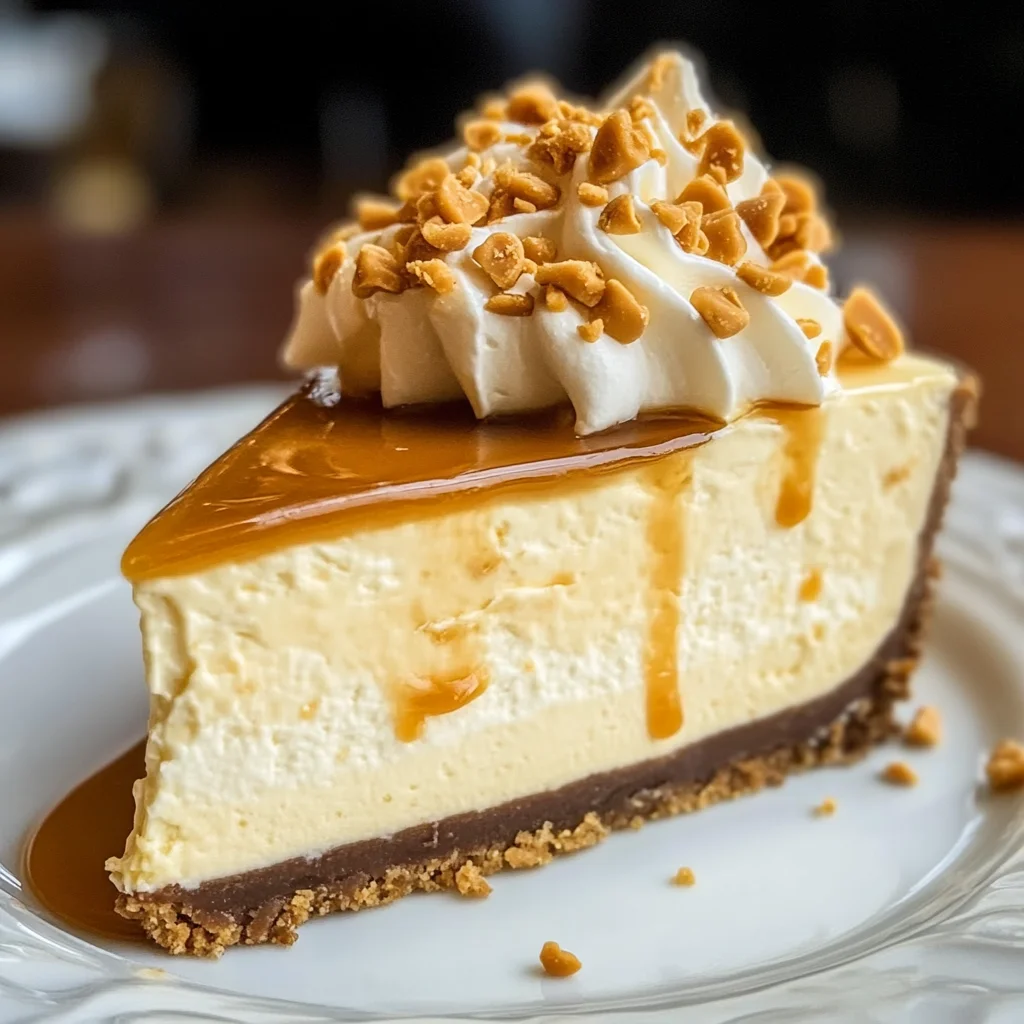
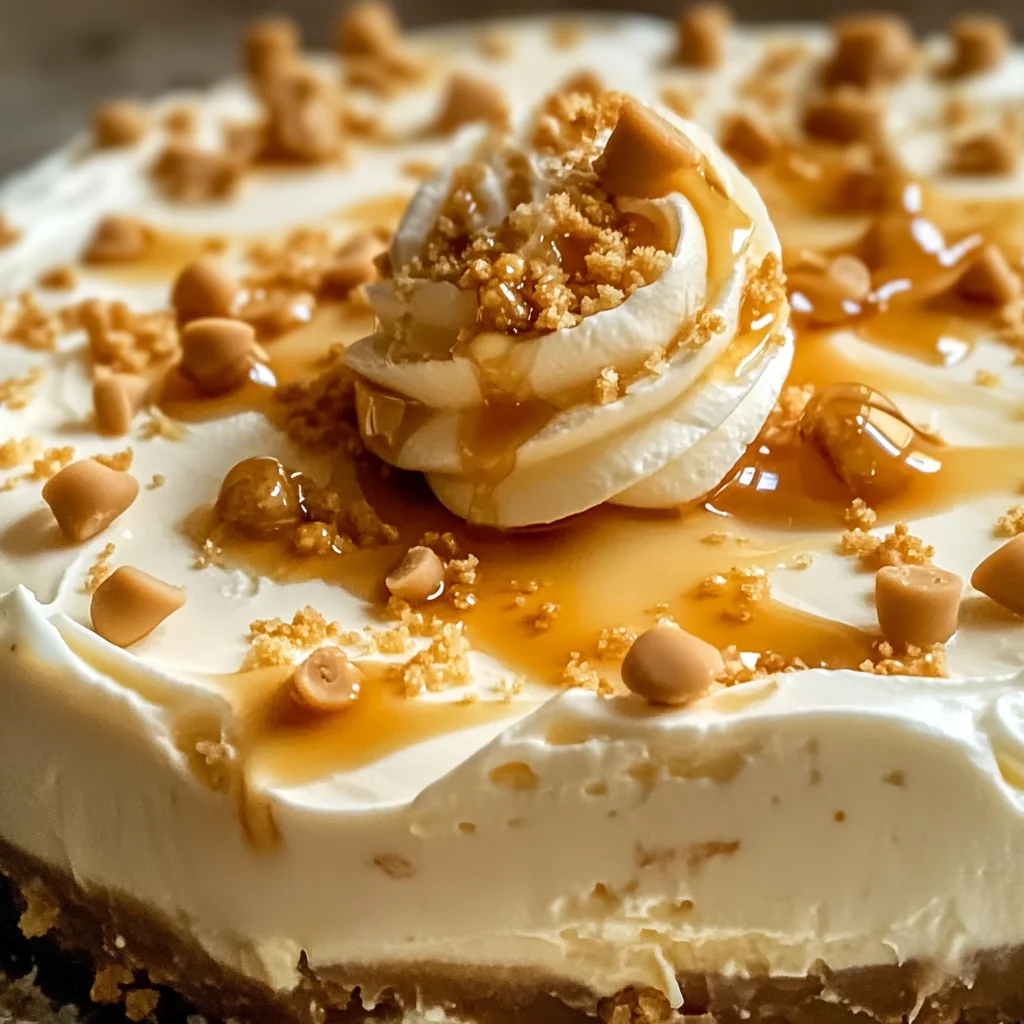
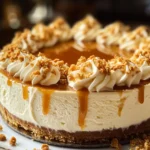
Butterbeer cheesecake
If you’re looking for a dessert that’s sure to impress your friends and family, look no further than this delightful Butterbeer cheesecake! This creamy, dreamy treat captures the whimsical flavors of butterscotch and cream soda, making it a perfect choice for gatherings or even just a cozy night in. It’s a recipe that evokes warmth and nostalgia, reminiscent of magical moments spent with loved ones. There’s something truly special about sharing a slice of this cheesecake, whether it’s for a birthday celebration, holiday feast, or just because you deserve a sweet treat!
Why You’ll Love This Recipe
- Easy to Make: With simple steps and straightforward ingredients, this Butterbeer cheesecake comes together quickly, making it perfect for bakers of any skill level.
- Family-Friendly: Everyone loves cheesecake! The sweet butterscotch flavor is a hit with kids and adults alike, ensuring smiles all around.
- Make-Ahead Delight: This cheesecake can be prepared in advance, allowing the flavors to develop while you focus on other meal prep or just relax with your loved ones.
- Showstopper Presentation: With its rich texture and beautiful topping of cool whip and butterscotch sauce, this dessert looks as amazing as it tastes!
- Magical Flavor: The unique combination of butterscotch and cream soda creates an enchanting taste experience that transports you straight to the wizarding world.
Ingredients You’ll Need
Gathering these simple, wholesome ingredients is half the fun! You’ll be amazed at how easily they come together to create such an extraordinary dessert. Here’s what you need for your Butterbeer cheesecake:
For the Crust
- 2 cups graham cracker crumbs
- 1/4 cup granulated sugar
- 1/2 cup unsalted butter, melted
For the Cheesecake Filling
- 4 (8 oz.) packages cream cheese, softened
- 1/2 cup sour cream
- 3 large eggs
- 2 cups granulated sugar
- 1/2 tablespoon vanilla extract
- 1/2 tablespoon butter flavoring
- 1/2 cup butterscotch sauce
- 1/2 cup butterscotch chips
For Topping
- 8 oz. tub of cool whip
- 1/4 cup cream soda
Variations
This Butterbeer cheesecake is incredibly flexible! You can easily tweak it to suit your taste or dietary needs. Here are some fun variations to consider:
- Add Some Spice: Incorporate a pinch of cinnamon or nutmeg into the filling for a warm spice note that complements the sweetness.
- Switch Up the Topping: Instead of cool whip, try using whipped coconut cream for a dairy-free alternative that still delivers on flavor.
- Mix in Chocolate: Fold in some chocolate chips along with the butterscotch chips for an extra indulgent twist!
- Create Mini Cheesecakes: Use muffin tins instead of a springform pan for individual portions—perfect for sharing!
How to Make Butterbeer cheesecake
Step 1: Prepare the Crust
Start by preheating your oven to 325°F (160°C). In a mixing bowl, combine the graham cracker crumbs with 1/4 cup of sugar and melted butter until everything is well mixed. Press this mixture evenly into the bottom of an 8-inch springform pan. This crust provides a sweet base that perfectly complements the creamy filling.
Step 2: Make the Cream Cheese Filling
In another large mixing bowl, beat the softened cream cheese until smooth using an electric mixer. This step is crucial as it ensures there are no lumps in your filling. Next, add in the sour cream and mix until fully combined—this adds richness and creaminess!
Step 3: Sweeten Up
Gradually add in 2 cups of sugar while continuing to beat the mixture until it’s all incorporated. Then add each egg one at a time; this helps maintain a smooth texture by ensuring each egg is well blended before adding the next.
Step 4: Flavor It Up
Stir in both vanilla extract and butter flavoring until everything is smooth and creamy. These flavors enhance the overall taste profile of your Butterbeer cheesecake.
Step 5: Add Butterscotch Goodness
Now it’s time to mix in that delicious butterscotch sauce, cream soda, and butterscotch chips! Stir until everything is well blended—this is where your cheesecake gets its signature magic.
Step 6: Bake It Right
Pour this luscious mixture over your prepared crust in the springform pan. Smooth out the top with a spatula so it’s even. Place your cheesecake in the preheated oven alongside a pan filled with water on another rack below; this will help keep it moist while baking. Bake for about 60 minutes until the edges are set and only slightly jiggly in the center.
Step 7: Cool Down
Once baked, turn off your oven but leave the cheesecake inside with the door slightly ajar for about an hour. This gradual cooling helps prevent cracks from forming on top.
Step 8: Chill Out
Remove your cheesecake from the oven and let it refrigerate for at least four hours—ideally overnight—to allow it to set properly.
Step 9: Serve with Style
When it’s time to serve up this magical treat, top it generously with cool whip! Feel free to pipe swirls around the edge or fill up the center with a heaping mound before drizzling more butterscotch sauce on top.
And there you have it—a Butterbeer cheesecake that will charm everyone who tries it! Enjoy every bite!
Pro Tips for Making Butterbeer Cheesecake
Making the perfect Butterbeer cheesecake is all about attention to detail and a little love. Here are some tips to ensure your cheesecake turns out magical every time!
-
Use Room Temperature Ingredients: Allow your cream cheese and eggs to come to room temperature before mixing. This will help create a smoother batter and prevent lumps, resulting in a creamy texture.
-
Don’t Overmix: When incorporating the eggs into the mixture, mix just until combined. Overmixing can introduce too much air into the batter, leading to cracks during baking.
-
Water Bath Baking: Using a water bath helps maintain moisture in the oven, which is essential for a creamy cheesecake. It also reduces the chances of cracking on the surface.
-
Gradual Cooling: Letting your cheesecake cool gradually in the oven helps prevent sudden temperature changes that can cause cracks as well. Just remember to leave that door slightly ajar!
-
Chill Overnight: While it’s tempting to dig in right away, allowing your cheesecake to chill overnight not only enhances the flavor but also helps it set properly for that perfect slice.
How to Serve Butterbeer Cheesecake
Serving your Butterbeer cheesecake can be as delightful as making it! Here are some creative ideas to present this enchanting dessert beautifully.
Garnishes
-
Whipped Cream: A dollop or swirl of whipped cream adds a lightness and complements the rich flavors of the cheesecake.
-
Butterscotch Drizzle: A drizzle of butterscotch sauce on top not only looks beautiful but also enhances that sweet, buttery flavor profile.
-
Crushed Graham Crackers: Sprinkling some crushed graham crackers on top provides a lovely crunch and reinforces the crust flavor.
Side Dishes
-
Fresh Fruit Salad: A refreshing fruit salad with berries and citrus balances out the sweetness of the cheesecake and adds a pop of color.
-
Vanilla Ice Cream: The creamy texture of vanilla ice cream pairs beautifully with cheesecake, offering a delightful contrast in temperature and flavor.
-
Coffee: A warm cup of coffee enhances the flavors of the dessert and provides a nice caffeine boost alongside its sweetness.
-
Chocolate Covered Pretzels: The salty-sweet combination of chocolate-covered pretzels makes for an intriguing pairing that complements the rich flavors of butterbeer without overpowering it.
With these tips and serving suggestions, your Butterbeer cheesecake will not only taste fantastic but also look like a star at any gathering! Enjoy every magical bite!
Make Ahead and Storage
This Butterbeer cheesecake is perfect for meal prep, allowing you to enjoy its magical flavors whenever you desire! With proper storage, you can savor this delightful dessert days after making it.
Storing Leftovers
- Keep the cheesecake tightly covered in the refrigerator.
- Use plastic wrap or an airtight container to prevent drying out.
- Enjoy leftovers within 3 to 5 days for the best taste and texture.
Freezing
- Allow the cheesecake to cool completely before freezing.
- Wrap the cheesecake tightly in plastic wrap and then in aluminum foil to prevent freezer burn.
- Freeze for up to 2 months. Thaw in the refrigerator overnight before serving.
Reheating
- Cheesecake is typically enjoyed chilled, but if you prefer it slightly warm:
- Preheat your oven to 300°F (150°C).
- Place slices in an oven-safe dish and cover with foil.
- Warm for about 10-15 minutes or until just heated through.
FAQs
Here are some common questions about our Butterbeer cheesecake.
Can I make Butterbeer cheesecake without cream cheese?
While cream cheese is essential for the signature texture of a cheesecake, you could experiment with vegan cream cheeses or other soft cheese alternatives for a different take.
How long does Butterbeer cheesecake last?
Properly stored, your Butterbeer cheesecake will stay fresh in the fridge for up to 5 days. Enjoy every magical bite!
What does Butterbeer cheesecake taste like?
Butterbeer cheesecake combines rich cream cheese with sweet butterscotch and a hint of cream soda, creating a dreamy dessert that’s both creamy and indulgent!
Can I use a different flavor instead of butterscotch?
Absolutely! Feel free to try caramel or chocolate sauces as an alternative flavor twist while keeping the same base recipe.
Final Thoughts
I hope this Butterbeer cheesecake brings a touch of magic into your kitchen! It’s a fantastic dessert that captures whimsy and deliciousness in every bite. Whether you’re sharing it at a gathering or enjoying it on your own, I’m sure you’ll love making this enchanting treat. Happy baking!
Butterbeer Cheesecake
Indulge in the delightful experience of Butterbeer cheesecake, a dessert that combines the enchanting flavors of butterscotch and cream soda. This creamy treat is perfect for gatherings or cozy nights at home, evoking warm memories with every bite. Its rich texture and beautiful presentation make it a showstopper, while its easy preparation ensures that bakers of all skill levels can create this magical dessert. Whether you’re celebrating a special occasion or simply treating yourself, this Butterbeer cheesecake is sure to impress friends and family alike.
- Prep Time: 20 minutes
- Cook Time: 60 minutes
- Total Time: 1 hour 20 minutes
- Yield: Approximately 12 servings 1x
- Category: Dessert
- Method: Baking
- Cuisine: American
Ingredients
- 2 cups graham cracker crumbs
- 1/4 cup granulated sugar
- 1/2 cup unsalted butter, melted
- 4 (8 oz.) packages cream cheese, softened
- 1/2 cup sour cream
- 3 large eggs
- 2 cups granulated sugar
- 1/2 tablespoon vanilla extract
- 1/2 tablespoon butter flavoring
- 1/2 cup butterscotch sauce
- 1/2 cup butterscotch chips
- 8 oz. tub of cool whip
- 1/4 cup cream soda
Instructions
- Preheat oven to 325°F (160°C). In a mixing bowl, combine graham cracker crumbs, sugar, and melted butter; press into the bottom of an 8-inch springform pan.
- Beat softened cream cheese until smooth. Add sour cream and blend well.
- Gradually add sugar and mix until combined. Incorporate eggs one at a time.
- Stir in vanilla extract, butter flavoring, butterscotch sauce, cream soda, and butterscotch chips until well blended.
- Pour filling into the crust and smooth out the top. Bake for about 60 minutes until edges are set.
- Turn off oven and let cheesecake cool inside with door ajar for an hour before refrigerating for at least four hours or overnight.
Nutrition
- Serving Size: 1 slice (100g)
- Calories: 350
- Sugar: 28g
- Sodium: 310mg
- Fat: 24g
- Saturated Fat: 14g
- Unsaturated Fat: 8g
- Trans Fat: 0g
- Carbohydrates: 30g
- Fiber: <1g
- Protein: 5g
- Cholesterol: 70mg